The promised and much delayed headband tutorial
First let me say this- I tried to make this all fancy- and you know put fun borders and type on the pictures- but I don't understand photoshop- so I found myself wanting to throw the computer out the window, thus you get a very boring but informational tutorial. (Also- this fabric didn't make the "cut" as far as making it into the etsy shop- can't win them all)
1. CHOOSE YOUR FABRIC

 I use strips that are 20 inches long (the stretch needs to be in the length) and 7 inches wide.
* If you don't have a rotary cutter good old fashioned scissors will work to cut your fabric as well.
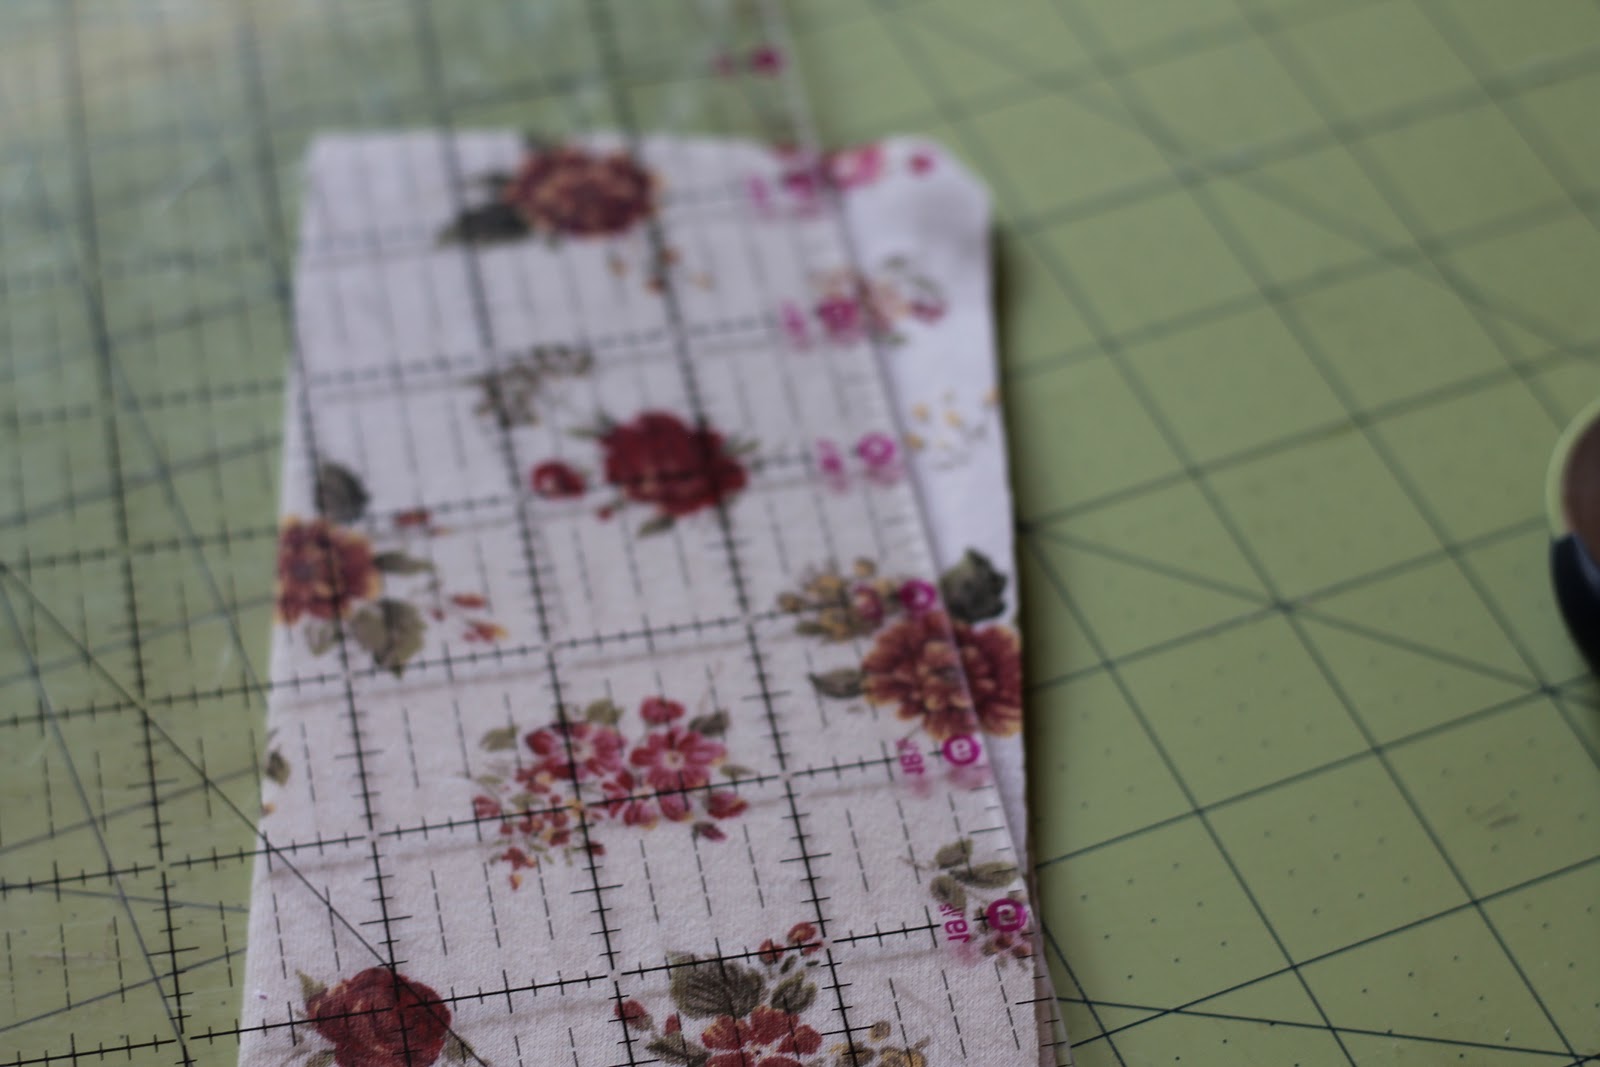
3. ANGLE YOUR ENDS
 So I like the part of the headband that goes around the back of my head to be thinner than the top. So I fold my fabric in half width wise (hotdog fold) & then length wise (hamburger fold) so I have a quartered piece of headband. And I angle the end. I don't do things very precisely- so just lob off however much you want.
* Just make sure you are cutting against the open end- not the folded end*
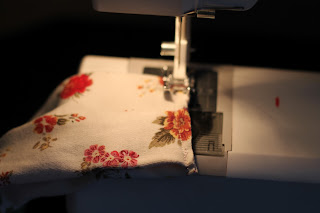
4. SEW YOUR TUBE.
 Fold your fabric in half right sides together (hotdog fold) and sew along the open end.
5.Once this is done turn your tube right side out.
6. Now flatten out your fabric so on the top there is no seam, and at the bottom or inner part (the part that will lay on your head) your seem is there.
7. SEW YOUR ENDS TOGETHER.
***Place your ends together so the seam is in the middle and face up. Then sew along the raw edges (great thing about jersey knit is that it doesn't fray so you don't have to have a finished edge)
 Now flip your headband right side out so the raw edge will be inside.
Now try this sucker on your head- does it fit? Is it too loose? If it is you can sew another seam on the ends to make it tighter

8. MAKE YOUR RUFFLE
I cut another strip that is about 2.5 inches wide and 10 inches long.


 And then you are done! I often iron my ruffle down (I didn't here) just to make it less flappy and more flat on the headband.

This might possibly be the worst tutorial EVER. Oh well-take it or leave it. I would love to hear how your headbands go- or if you want one and don't like to/can't sew.
Buy one here
Or if you want a different design!
This one is new today- I am a bit obsessed with the knot.


1. CHOOSE YOUR FABRIC

You need to choose a jersey knit fabric. I like ones that have a good amount of stretch- I tend to buy my fabrics in the form of shirts at thrift stores- mens polos are great, so are women's patterned shirts
*If you get a shirt at a thrift store choose a big size L or bigger so you have enough fabric.
2. CUT YOUR FABRIC

* If you don't have a rotary cutter good old fashioned scissors will work to cut your fabric as well.
3. ANGLE YOUR ENDS
* Just make sure you are cutting against the open end- not the folded end*

5.Once this is done turn your tube right side out.
6. Now flatten out your fabric so on the top there is no seam, and at the bottom or inner part (the part that will lay on your head) your seem is there.
7. SEW YOUR ENDS TOGETHER.
***Place your ends together so the seam is in the middle and face up. Then sew along the raw edges (great thing about jersey knit is that it doesn't fray so you don't have to have a finished edge)

Now try this sucker on your head- does it fit? Is it too loose? If it is you can sew another seam on the ends to make it tighter

8. MAKE YOUR RUFFLE
I cut another strip that is about 2.5 inches wide and 10 inches long.

And I ruffle/ fold it as I sew- make your stitch straight down the middle.
It will look like this when you are done.

9. ATTACH YOUR RUFFLE.
I decide where I want to put my ruffle and then sew it on-


This might possibly be the worst tutorial EVER. Oh well-take it or leave it. I would love to hear how your headbands go- or if you want one and don't like to/can't sew.
Buy one here
Or if you want a different design!
This one is new today- I am a bit obsessed with the knot.

(While I totally encourage you to try this tutorial out- I respectfully ask that I don't see this exact product in your ETSY shop- get creative! If you are going to sell- make your own designs, don't copy others)


LOVE the knot and thank you so much for the tutorial. Once I get the first one I ordered, to make sure it doesn't slide off my head, I'll be getting a knot one too.
ReplyDeleteI am not a maker, but I love this! I want the knot one! Going to check out etsy now!
ReplyDeleteJulie